Content categories: how to organize your website

Categorizing your content goes beyond creating topical filters for your blog posts. It includes both the user-facing filters across your web pages and the way you interpret your website behind closed doors.
It’s important to find ways to group your content in two main scenarios:
Prepare for website updates and redesigns: Knowing what types of content you have helps ensure you account for every page, helps you determine what groups of pages are crucial, and helps you determine how many page templates you need.
Build an insightful content strategy: Getting the landscape of your content types supports ideation for new content, creates content bundling opportunities, and helps you evaluate types of content that performed well in the past.
This article will walk you through categorizing website content, considering all of the groupings available and how they’ll help you strategize.
What does a content category look like?
There are two main types of content categories - internal and external. Take a look at how we can group content in user vs. employee-facing scenarios.
External content categories
External content categories are typically user sorting features like tags, filters, or menu items.
Grouping information on a website reduces overwhelm and helps people find needed information.
Product / service types
Parent pages on the menu that have dropdowns: Industries Served, Choose Your Profession, Use Cases, About, etc.
Blog categories
Resource types: case studies, blog posts, guides, etc.
Internal content categories
Internal content categories are used to inventory and score/audit content. Since they don’t live externally on the website, internal categories might live as columns in your Content Inventory spreadsheets (Note: creating and filling out these columns is the Content Audit step).
The Content Inventory and Content Audit steps facilitate content performance analysis, finding gaps, content ideation and bundling, and determining pages to include in a redesign.
Page templates: blog post, product purchase page, product category page, case study, PPC landing page, etc.
Personas targeted with the page
Which product/service the page supports
Where it falls in the customer journey
Indexed vs. unindexed pages / technical details
The importance of tagging
Leveraging tags on your website automatically creates category pages and collections of content. Don’t count out these easy wins:
The tags will automatically create category pages that feed in tagged content. This is a quick way to generate new pages with ranking potential.
Use category pages as a reference point to create content bundles. Can you take 4 of the blogs on the “Service A” category page and summarize in a new blog post? Again, this is a quick way to create web pages with ranking potential.
Use feeds of tagged content to encourage click-throughs (i.e. recommended content blocks)
Content categories and dynamic content
Categorizing content in your website also makes for many personalization features. You can work with developers or marketing automation tools to build dynamic content blocks (sections that populate content by user behavior).
For instance, by investing in personalization features, a user who browsed an SEO article on Content Land would see recommended SEO content as they navigate to new pages.
Dynamic content builds a human-first site experience that is far more likely to convert.
Put your content categories to use
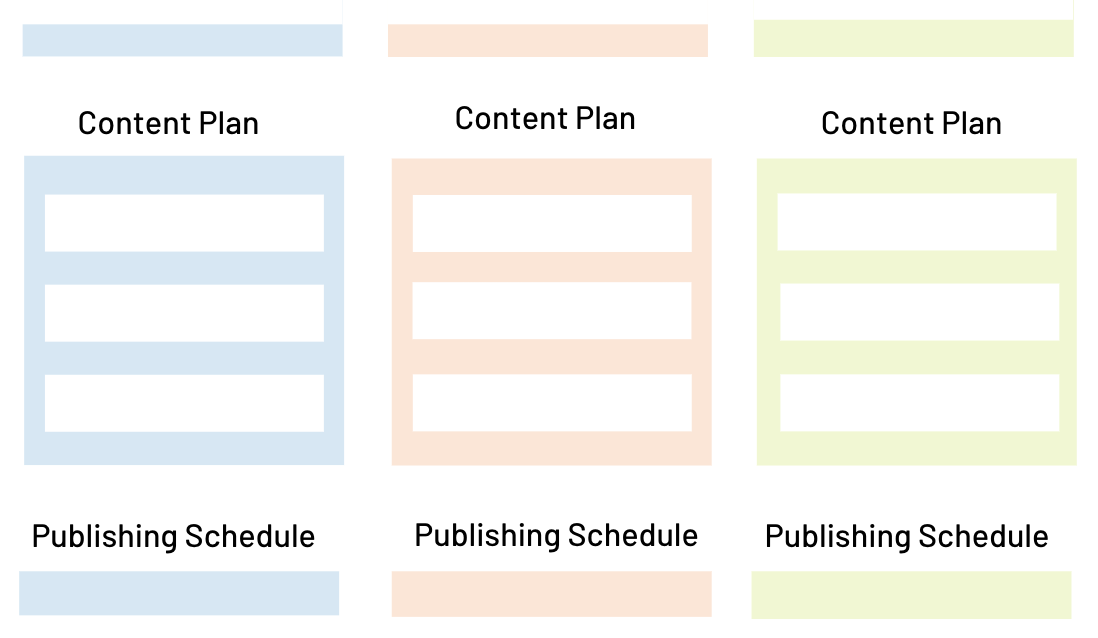
Step 1: Create a reference document
Now that you’ve given some thought to how to categorize your content, it’s time to write it out and get organized. First, create a word document of all the categories for both marketing and technical teams to use.
Here’s an example for Content Land (note that my blog is smaller and simpler than most businesses):
Persona
SEO specialist
Content specialist
Topics
Marketing strategy
Blog writing
SEO
Page type
Resource page
Blog post
Other/service page
This information is useful in completing a content inventory, brainstorming new content ideas, and working with web developers.
Step 2: Create a content inventory
Start your content inventory by exporting a list of URLs from a sitemap or website crawlers (like Screaming Frog). Then, add a column for each category listed in the first step. Creating this inventory will:
Give a clear overview of the state of your content marketing
Make it easy to pinpoint gaps
Help you find errors and opportunities (duplicate pages, old outdated content, etc.)
Help you create bundles used by Marketing (emails, summary blog posts, landing pages, etc.)
Step 3: Categorize within your website
Now, use your website’s tagging features to categorize wherever possible. Again, these automated tags will generate new category pages and help you create feeds of recommended content throughout your website (boosting page views).
_____
Categorizing your content sets you up for success as you grow your business. Easily work with development teams to expand and scale, and build a well-informed content strategy that will drive results.
Thanks for reading! You might also like…